Welcome Series FAQ
Some groups have found that they retain more users and increase action rates by sending new members one or a series of emails welcoming them to the organization. Testing is the best way to figure out whether this is helpful with your list and what content and timing works best. This FAQ is designed to help you set up a welcome series.
How do I create a welcome email?
1 Click on Mailings -> Create a New Draft.
2 Write your welcome email and click on  .
.
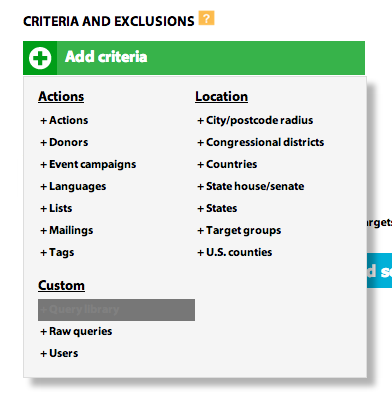
3 Select your targeting criteria.
Let’s say you want to send your welcome email to users who took their first ever action with you yesterday. Click on “Add Criteria” → Query Library and select new-to-database users (which may be different than new-to-list users, for example, if you have multiple lists).

Enter the number of days that should have passed since the user’s first action. To find all users who joined yesterday select 1.
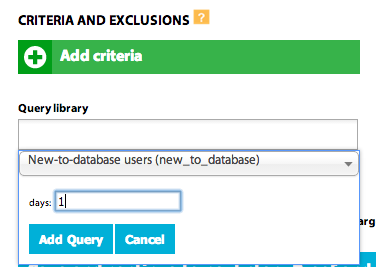
Then click 
Note
We recommend that you check that your new-to-database or new-to-list query is set to run every time. With caching, there can be slight variations in when the report runs. So if you cache this report, depending on when the report runs and when the mailing gets sent, you may end up targeting the same users as the previous day, or missing users that should have been targeted.
4 Proof your mailing and preview the appearance.
When you use Preview, you’ll get whoever would receive the message if it were sent today (or, if no one would be targeted today, you’ll see a preview generated with test user data).
5 Confirm the count and targeting.
Remember the count is showing everyone who joined 24 to 48 hours ago.
You’ll see a message: Warning: no list selected for this mailing, because you’re targeting anyone who joined yesterday, regardless of the list joined. If you only want to include users who joined a specific list, like if you have a separate list for one issue, you’d use the new-to-list query for targeting instead.
If you see this link at the bottom, click it:

6 Send yourself a proof.
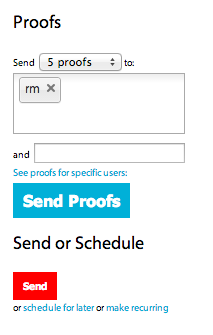
Proofs, like the preview, use whoever would receive the message if it were sent today. If nobody joined yesterday, you can’t get an emailed proof. You can return to step 2 and temporarily change the targeting (e.g. enter your user_id in the Users box). Just remember to change it back after your view your proof!
7 Make your mailing recurring.
Click make recurring under the Send button. Then click on New Schedule to create a schedule.

8 Create a schedule.
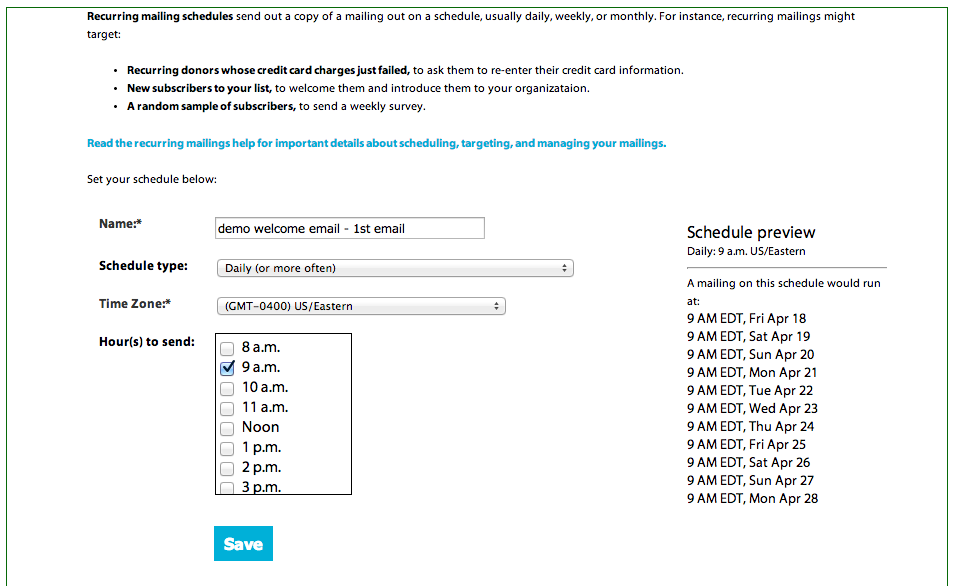
Name your schedule something descriptive.
Select a Schedule type from the drop down.
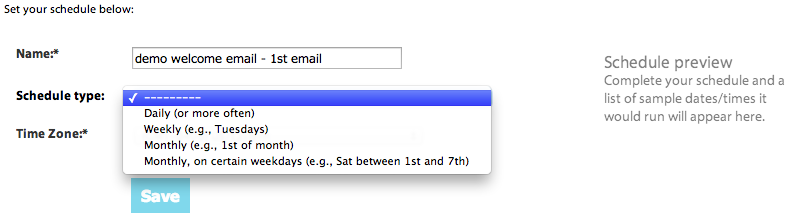
For this welcome email you want to select daily because you want ActionKit to look every day for any users who joined the day before. If no users joined the day before, no mailing is sent that day.
Select the time zone you want to use to set the send time and select a time. We’ll send to everyone at the time you select, so 9 a.m. Pacific Time means it would be noon when the mailing sends to your East Coast users.
Hit Save.
9 Select Rebuild mailing set at send.
This tells ActionKit to look for everyone who meets your targeting criteria at the time the mailing is sent.
10 Select Start recurring mailing.
Then confirm on the next screen to schedule your mailing.
Your mailing will send every day at the specified time to users who joined yesterday, if there are any.
How do I edit my welcome email?
Periodically you’ll need to make changes to your welcome email, to update the content or reference new campaigns, etc.
1 Find your mailing.
Recurring mailings are shown in the scheduled section on the mailings dashboard. In the status column you’ll see the next scheduled send time.

2 Copy or stop your mailing.
You can’t edit a live recurring mailing. To get a draft you can edit, you must select one of these two options. If you click copy, your current welcome email will continue to go out while you make your edits. If you click stop, nothing will go out until you’ve made your changes. Let’s use copy for this example.
3 Make your changes.
4 Schedule your edited mailing.
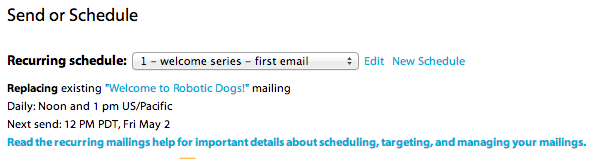
Go to the proof and send section. The existing schedule is selected by default with a message saying what email you’ll be replacing on this schedule. A schedule can only be associated with one mailing.
5 Submit and confirm.
ActionKit will replace the current welcome series with your new draft.
How do I see a report showing the performance of the first recurring welcome series over time?
1 Find a mailing in your series.
Click on the Mailings tab and scroll down to Sent Mailings. Click on a sent recurring mailing. You’ll land on a page that looks something like this:

2 Click on Edit series or see reports.
- Here, you’ll be able to click on links to reports for:
Overall rates for this series (or all series)
Rates broken out for each individual send
Subject test results
Clicks by link